| If you're considering replacing your convertible top, you should pay a professional to do it. However, if you want to do it yourself there's a few things that you'll want to know. I like to do things myself, but don't come after me if you try this yourself and screw it up. | |||
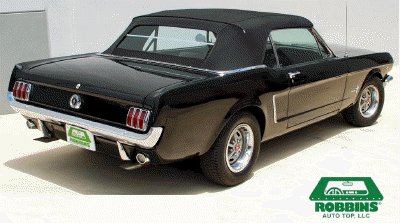
 This is the top that came with the car. It was nice, but old. It leaked at the rear curtain. The top was 20 years old, so I understand it leaking. The weather-stripping around the windows and top was old and hard. It was time to replace the top, but I couldn't find anyone around Lexington, who'd installed one. I'm sorry, one guy said he had, and asked $1,200. I thanked him and turned to youtube.com. If you want to learn how something's done, go to youtube. |
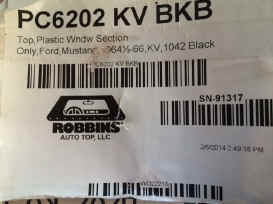
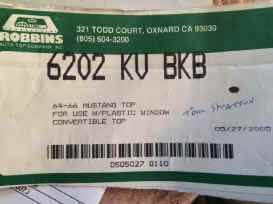
Used Robbins, had a couple of questions,
so I called them and Doug Robbins, owner, called me himself. |
||
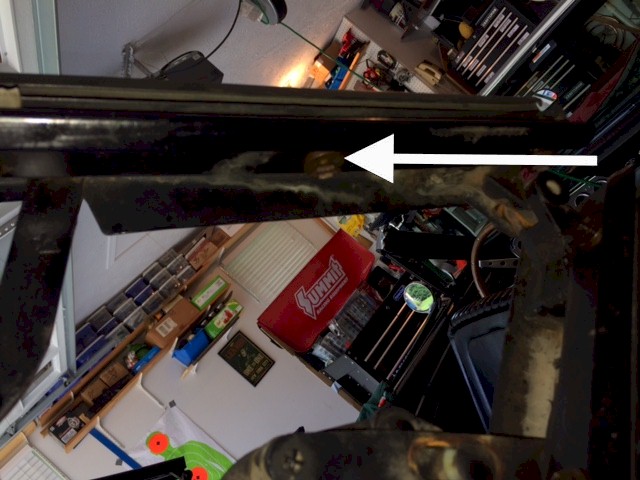
 66 Mustang PC 6202 Line up Marks - Rear Bow 20 1/2" |
|
||
| I
will show you some things that you must have to swap a top yourself.
However, I do not recommend that you do this job, unless you have a good
work space, like a garage, and plenty of time. A project like this took
me over a week, because I didn't move very fast. I wasn't in a hurry and
the top turned out great. I'm glad I did it, but again, I don't recommend
you doing your own top. Pay someone, and blame them if something goes
wrong.
I learned that you don't put the top on and stand back and smile... NO, you put the top on, look at it and decide the top is either too loose (fabric sagging) on one side, or too tight (ripples in the fabric) on the one side. Either way, this is the patience part... you have to take it all apart, remove all the staples (a butt load) move it to tighten or loosen it, put all the staples back in it, put it back,,, and guess what now it's either too loose or too tight again... so you get to do it all over again. This is why it took me over a week to
finish it. I've learned to walk away from something that frustrates me
and come back to it another day. |
|||
|
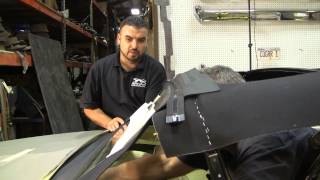
There
are a few youtube videos on installing convertible tops, but most tend
to skip over some important areas.
|
|||
 |
 |
 |
|
| These
are some things that you must have in order to do this job
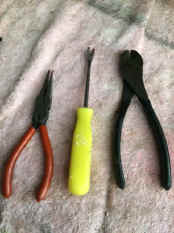
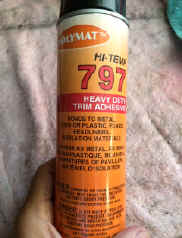
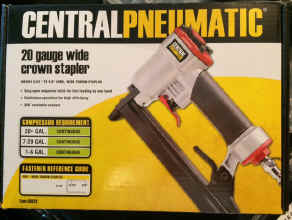
yourself. (1) A 20ga. pneumatic stapler. I got mine at Harbor Freight. I used both 1/2" and 1/4" staples, and I used a bunch of them. Harbor Freight has them too. Of course you'll need an air compressor. You should have one of then anyway. (2) You'll need a staple remover (yellow handle), needle nose pliers, and wire cutters. The wire cutters are great for removing staples. (3) Finally, you'll need the correct adhesive. Not any spray adhesive will work. The Polymat 797 is a contact cement glue. You spray it on both side and give it a few minutes to start working, then join the pieces. The rubber cement can be separated if you need to and rejoined without any damage to the material. I got it on Amazon, it was about $20 for the can. |
|||
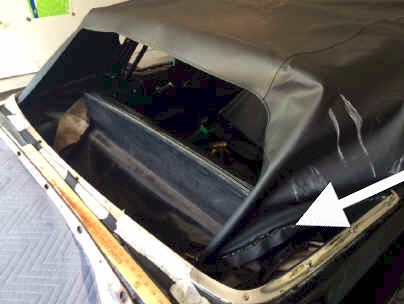
 Prop the top up while your removing the weather stripping, so the pistons don't have to support the weight of the top. It's easier to get to it like this. 1/2" wrench will do it. |
|
||
 |
|
||
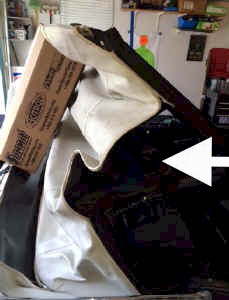
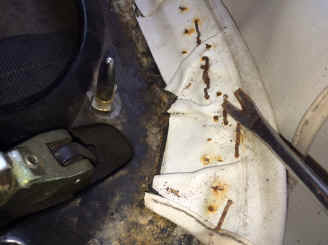
| Watch
the video, remove the weather-stripping, and the staples. Make sure you
cover your car to protect the paint finish. These tack strips are heavy and they will scratch it. I used a packing quilt to cover the trunk. |
|||
 |
 |
||
| I
laid the new top and window in the sun for a coupe of hours to
"soften" it up. Careful... you don't want to stretch your
top very much. When it cools it'll shrink and stress your top. After it warms, fit the new top over the frame for a couple of days to make sure it fits. DON'T STRETCH IT TOO MUCH. You'll need some stretch to remove the waves, but not much. Use Chalk to mark your waves in the material. Then remove the staples to adjust the material, put the staples back in, and repeat. |
|||
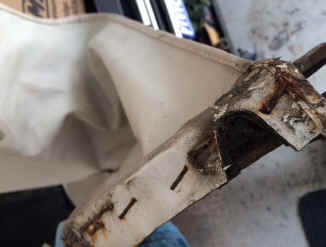
 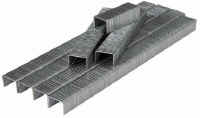  You're going to need 1/2" staples for the top bows and tack strip, and 1/4" staples for the front tack strip. You'll want about 1000 of each. Get used to putting staples in... then removing them to adjust the material... then putting the staples back in, and repeat. |
|||
 |
 |
||
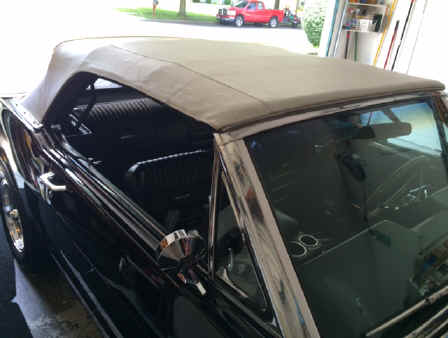
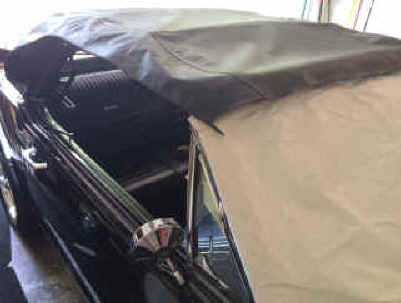
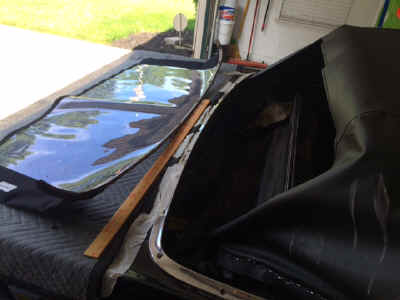
| You
put in the back window, then you take it out and tighten or loosen it,
then you do it again. It took me three times before I got it looking
right. Notice the wavy black material around the sides. That took me
three times to get it all smooth too. If you don't have the time or patience for this job, then you should pay someone to do it for you. |
|||
 |
 |
||
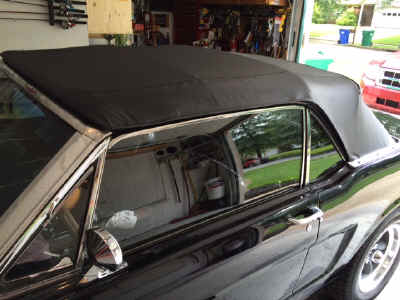
| Now "Let it Cook" back it out in the hot sun and let nature help you get that smooth fit | |||
 |
|||
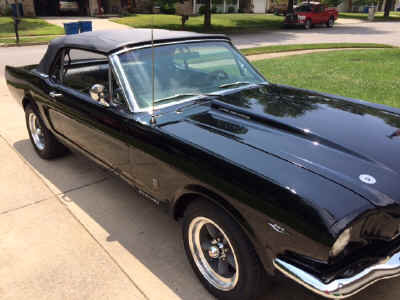
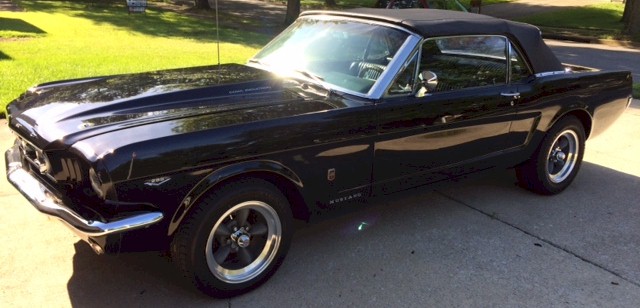
| That's
it. If you want the satisfaction and savings of doing this job yourself: (1) Make sure you have the time and place to do it properly and patiently (2) Make sure you have or will get the right equipment I replaced the top, the back window, and all the weather stripping for less than $450, saving myself $750 Thanks again to Doug Robbins for his help and superior products |
|||
|
|
|||